Logged in as Guest
Flexible Moulding Installation Tips
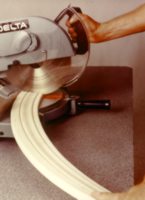
Cutting and Shaping flexible mouldings
Flex Trim moldings can be cut, sanded and shaped using typical woodworking tools.
- Hold material firmly to table or fence when cutting.
- Cut material long and then shave to exact length.
- When shaping, use several "shallow" passes rather than one "deep" cut.
- Do not sand or shape the wood grain on stain grade material.
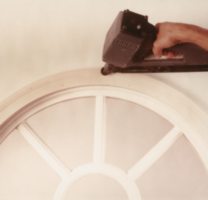
Fastening flexible mouldings
- Pre-determine material placement and layout.
- Keep nails and screws to a minimum.
- Keep nails and screws away from edges to prevent bumps at edges.
- Use construction adhesive such as P/L Urethane along the entire length.
- Use a thin adhesive such as a Cyanoacrylate (Super Glue) for bonding joints.
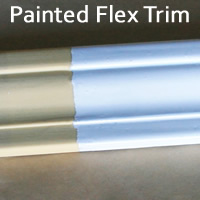
Painting flexible mouldings
Flexible moulding is not completely UV stable and may grey or darken over time if not painted (or stained).
- Clean material before painting using soap and water or mineral spirits
- A primer coat is recommended but not required.
- Never paint before installation. The material is flexible and the paint may crack during installation.
- All paints work well however, oil base paints may take longer than usual to dry.
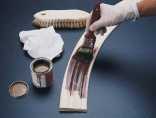
Staining flexible mouldings
Flexible moulding is not completely UV stable and may grey or darken over time if not stained (or painted).
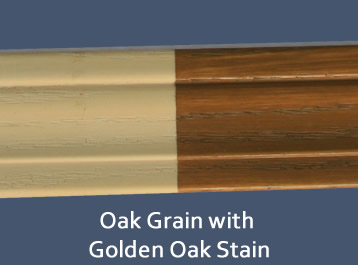
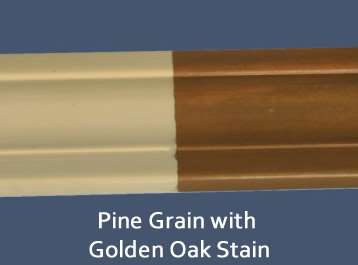
- Wood grain material appearance can be affected if the surface is scratched, sanded or altered.
- Never stain before installation. Flexing of the material during installation may damage the stain.
- Clean material thoroughly before staining using soap and water or mineral spirits.
- Mask off surrounding areas.
- Heavy stains such as "gelled stains", work best.
- Clear coat after staining.
- Always install before staining.
- Be sure the material is clean and free of dirt and oils. Clean with paint thinner or soap and water if needed.
- Mask off any adjacent non-stain areas.
- Apply the stain with a brush covering the entire surface of the material, especially in any deep grooves or crevices that may exist.
- Using a clean, dry brush, begin removing the excess stain.
- Clean the brush of excess stain by wiping on a rag.
- Continue removing excess stain with the brush until the desired color is acheived.
- Clear coat with lacquer, polyurethane or varnish using spray equipment. Applying clear coats with a brush may remove stain.